How to do the perfect live video with your Smartphone!
Over the recent years live video broadcasting with a Smartphone has become popular with many content providers. Video creators can reach huge audiences and gain many followers with live video. Going live with your Smartphone can be hugely rewarding but it is not without its pitfalls. Hopefully, the following advice maybe of some help.
Which live video app
There are many social video apps that will allow you to broadcast live video. The number of providers grows everyday but only a few can give you access to large audiences. Each app also has its own particular way in setting up a broadcast and how it uses your Smartphone’s camera.
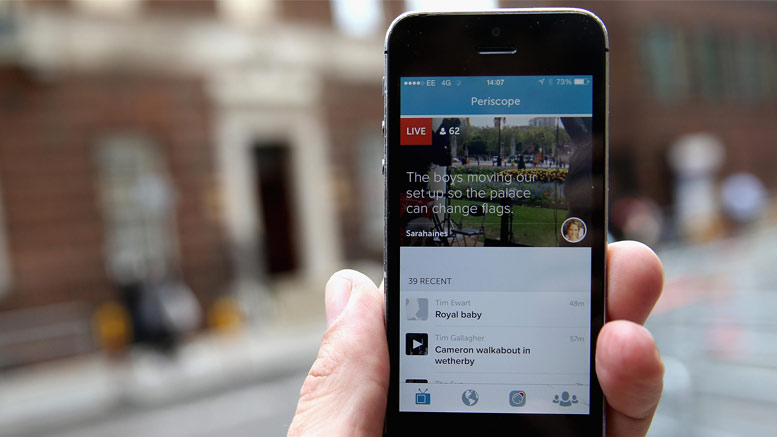
Which one you choose depends on what audience you want to reach and how comfortable you are with each social network. The main apps for going live are Facebook, Instagram, Twitter/Periscope and YouTube. Which one you choose depends on where your greatest audience is but they are all great choices.
Tips and tricks
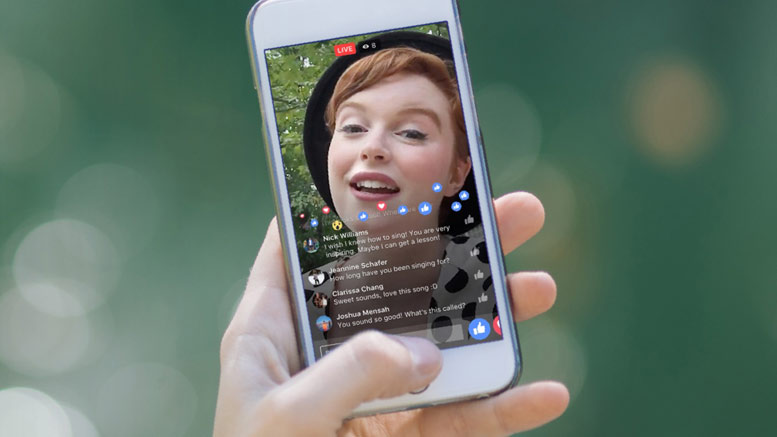
Before you start doing live broadcasts with your Smartphone there are a few points you should be aware of. These tips will give you the best quality live video. Facebook Live is the most dominant live social network at the moment so I have focused this advice for that app.
However, if you are using other live social media platforms like Twitter, Instagram or YouTube, much of what follows you can apply to going live on those apps too.
Do a test broadcast
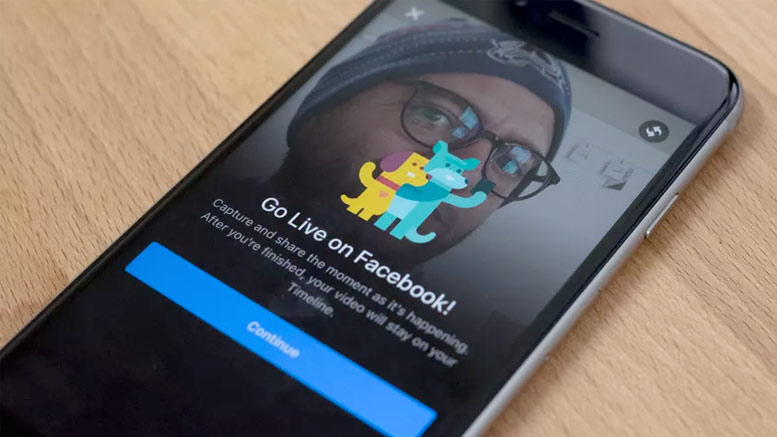
Before you go live you should do a test broadcast to make sure everything is working correctly. You should do this to check that your WiFi or mobile network is strong enough to broadcast your video without getting any image disruption from a poor signal. You can also check that your sound levels are good and there is no unwanted background noise.
It’s good to see if you have any lighting problems as well. To make sure your test broadcast does not go out to your target audience you can change the Facebook privacy setting to ‘Only Me’. By doing this, only you can see the test broadcast. Once you have done your test broadcast and are happy with the results you can then do the real one.
Write a compelling description
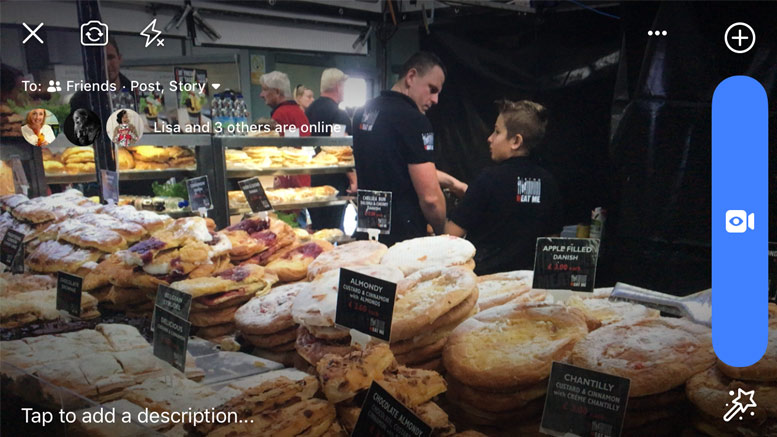
Before you start your broadcast, think about what you want to call your live video. This description will show up in the news feed telling people about your live video. To encourage your audience to watch, you should give your live video an attention-grabbing headline. This will help explain to them what your live video is all about. The better your headline, the more people will be curious to start watching.
Tag friends and choose your location
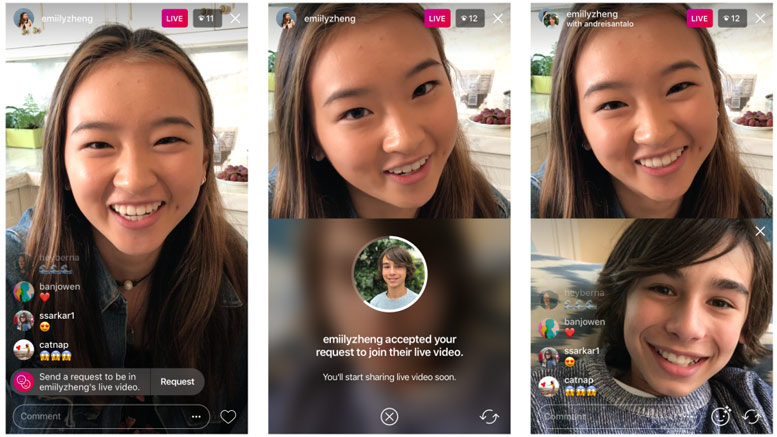
When you start your broadcast you should tag anybody that features in the live video. This will help you to share your live video to fans and those who would like to see those people in the broadcast. By doing this you increase your audience potential to get your live video seen by as many people as possible. If they like it, they will share it with others, which will widen your audience further.
You can also give your live broadcast a location. This gives it a point of reference to your audience. If they are nearby they may even visit and join in. This tagging helps to give your live video a personalised touch and helps to increase your audience.
Interact with your viewers
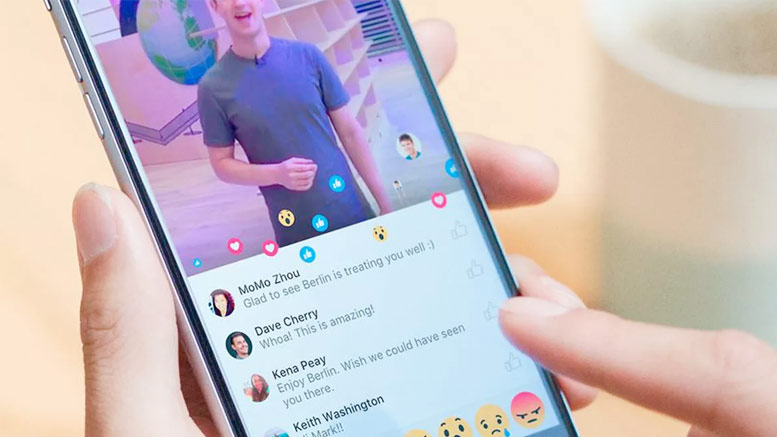
When you are broadcasting live it is important to interact with your audience as much as possible. This will keep them engaged with your live video and help your ranking in the news feed. So whenever possible, speak to your audience and get them to comment on what is going on in your broadcast. Also, encourage them to like your video and share it with their friends. This will help grow your audience.
It is a good idea to have another person on another Smartphone or computer to respond to likes and comments. This allows the person filming the live video to concentrate on the action. The person who is responding to comments can also choose the best comments and pass these on to the presenter. The presenter can then answer these comments and name the viewers who sent them. It will also help to create a personal relationship between the presenter and the audience and encourage viewers to send in more comments.
Save your video
When you have finished your broadcast you will have the choice to save your live video to the camera roll on your Smartphone. It is important to do this if you wish to edit your live broadcast. Your live video maybe over an hour and you may not want to repost the whole broadcast. With the saved broadcast you can make a highlights video, which you can then share on other social websites or put on YouTube. So remember to tap the download button at the end of your broadcast to save your video to the camera roll.
Your live video will also save to your page. Saved live videos can often get more views than the live broadcast so make sure you check that your title for your video is correct. If you don’t like your original title you can edit it and change it for another one. You can add a custom thumbnail as well to help encourage people to watch it. You can also change the privacy settings if you want to and if you don’t like the final video you can always delete it.
Keep reintroducing yourself
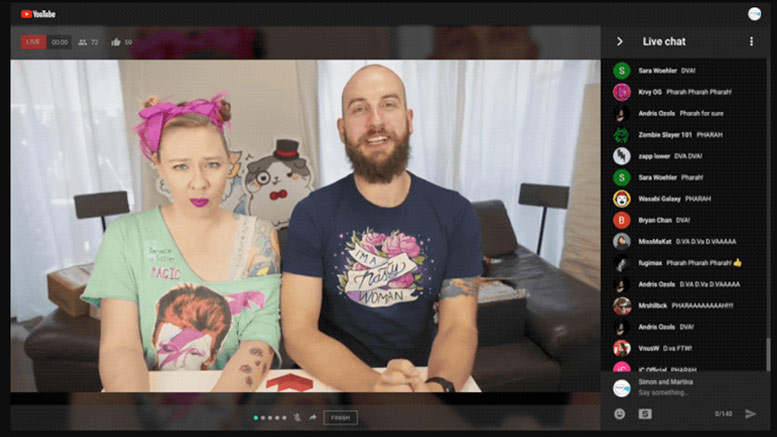
When you start your live broadcast, introduce yourself to your audience and tell them what your live video is about. You should then continue to do this regularly through the duration of your broadcast. Viewers may come and go during a broadcast and if they have just started watching they may not know what is going on. So reintroduce yourself every few minutes and tell them what your live broadcast is about.
You can also use this opportunity to tell viewers what they have missed and let them know what is coming up. This way you keep them up-to-date on what is going on. Also, when you finish your broadcast it is important to say goodbye. Thank your audience for watching and tell them of other planned broadcasts you may have in the future. You can also let them know about other videos or content that may interest them on your website and social pages.
Make your video visually engaging
When you are filming a live video, try to be spontaneous with your production. If possible, film hand-held to change the view and location of the broadcast. Staying in one position can be boring for the audience so changing location will increase their interest in your live video. This might also affect your WiFi or mobile network signal so you may need to do some tests before you go live.
You should also allow your presenter to be creative and unscripted. Random and unplanned events can give more life to a live broadcast. It’s okay for your live video to be a bit chaotic. It is also okay if your presenter stutters or makes mistakes.
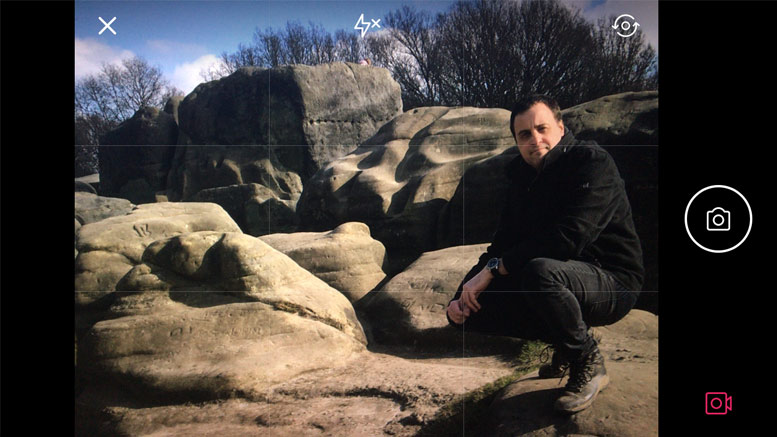
Audiences like it when things go wrong and everything is not perfect. Random banter is also good and this all adds to the fun of the show. It also makes the live video feel natural and your audience will enjoy that anything might happen. If a random passer-by tries to photo bomb the presenter, just go with it.
You cannot call ‘cut’ on a live video, you just have to keep filming and talking. It’s these events that will make your live video special and set it apart from a pre-recorded scripted video. So keep it light, remember to smile and if mistakes happen, laugh them off with a joke and remember to keep your live video as fun as possible.
Don’t make your live video too short
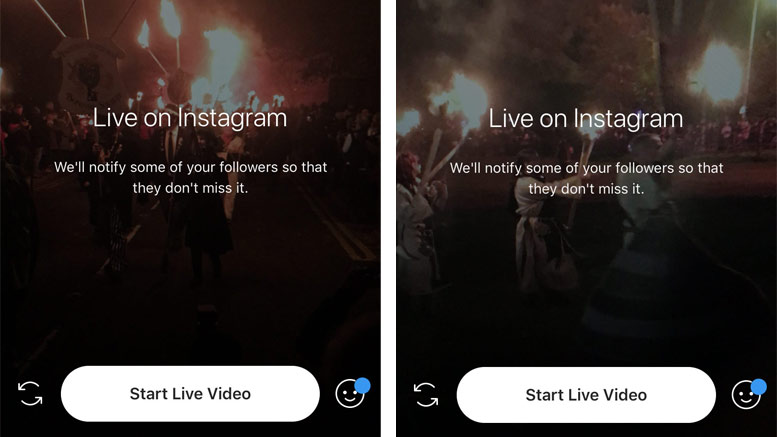
When you go live your broadcast should last for at least ten minutes. It takes time for a live video to appear on news feeds and for people to react to notifications. The longer you broadcast, the more time you have for potential viewers to find out about your live video and start watching. This will help you to get more shares, comments and likes.
If your live video is too short your potential audience will not have enough time to find out about the broadcast. So make sure your live video is as long as you can comfortably make it so your followers have a chance to find out about it and start watching.
Promote before you broadcast
Before you broadcast your live video you should let your followers know about it by creating some reminders. These could be some colourful graphic advertisements, an animated gif or a short video with your presenter. These reminders should detail the time and date of your broadcast and encourage your followers to be online at that moment to start watching.
These messages can also describe what the broadcast is going to be about and who is going to be on it. By doing this you encourage people to watch your broadcast. If you have the budget you can also pay for post boosts. This will get your message out to a greater number of people and you can also target these posts to groups that will respond to your live video.
Check your data speed
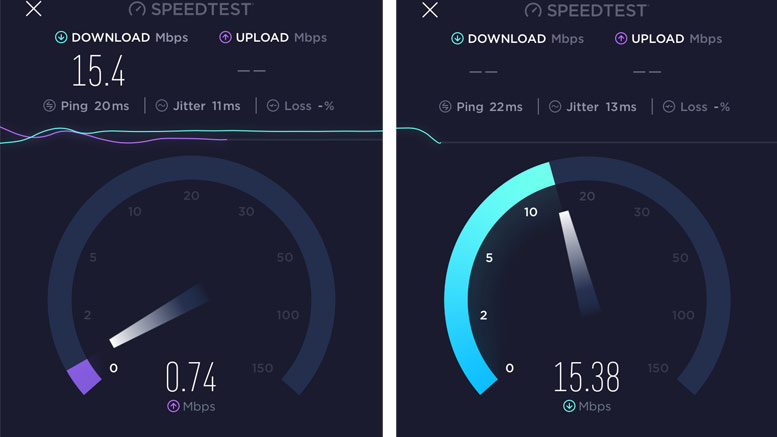
Before going live on Facebook it is important that you check your data speed. By using an app like Speedtest you can see what your average upload speed is in Kilobytes. This is important. The location organiser may tell you the WiFi is great or the phone reception is satisfactory but you won’t know until your start broadcasting.
You don’t want to go live only to find out the signal drops out and your broadcast fails. By checking the data speed before you start broadcasting you will know if you are going to have any problems. To do a Facebook live without any data speed problems you should have an average upload speed of 1000 kilobytes or above. If you are below this you are going to have issues. Better to find this out before you start broadcasting so you can change location and get a better signal.
Carry a battery charger
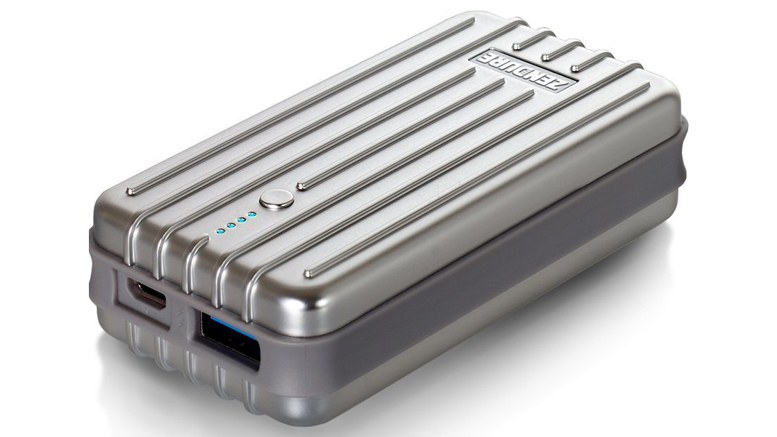
If you are doing a long broadcast with your Smartphone, make sure you fully charge the battery before your start. Filming continuous live video on your Smartphone will drain the battery fast. So make sure your Smartphone has enough power before you begin.
If you do find your Smartphone running out of power, make sure you have a portable battery charger available to plug in and charge it. This can save the day if you are halfway through a long broadcast and find your Smartphone is about to run out of power.
Other Popular posts like this:
What are the best iPhone microphones for filmmaking?
How to set up your Smartphone for video filmmaking
What is the best Smartphone filmmaking kit for Social Media?

